Automated email configuration is a crucial feature in iDempiere that helps accelerate business communication, particularly for sending documents like Purchase Orders, Invoices, and workflow notifications.
Without an automated system, your team would have to send these documents manually one by one. By leveraging Mail Templates and Workflows, companies can ensure that every document is delivered consistently, professionally, and in a standardized format, eliminating the need for manual intervention.
This article will provide a comprehensive guide on creating mail templates and integrating them with workflows to fully automate your email delivery process.
Step 1: Creating a Mail Template
The first step is to design the email format that will be used by the system.
- Log in as System Admin, then navigate to the Mail Template menu.

- Click New to create a new template.

- Fill in the required fields:
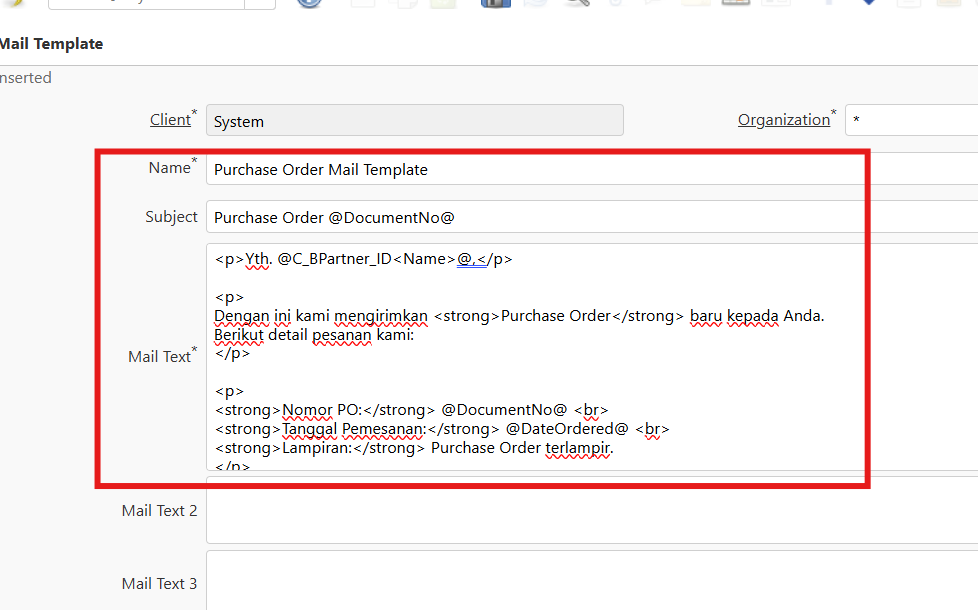
- Name: Enter a name for the template (e.g., Purchase Order Mail Template).
- Subject: Enter the email subject line.
- Mail Text: Enter the body text of the email.
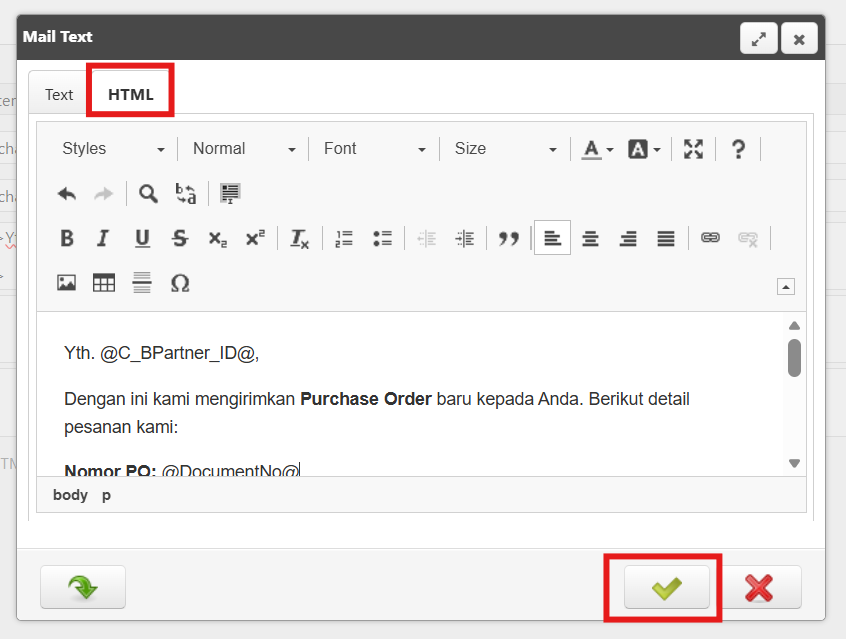
- Alternative: You can also use the HTML Editor to design the layout. Right-click on the text field, select Editor, and open the HTML tab. Once you are done editing, click OK
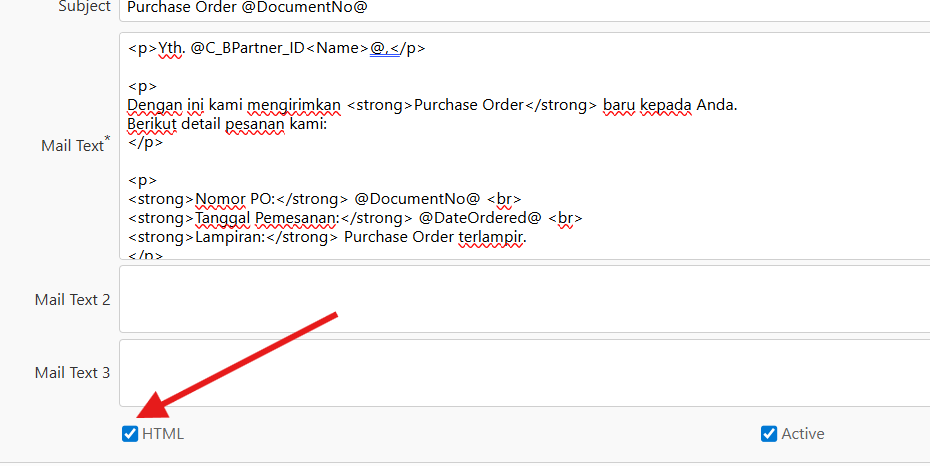
- Check the HTML checkbox. This ensures the system correctly renders the HTML tags so your email looks professional.
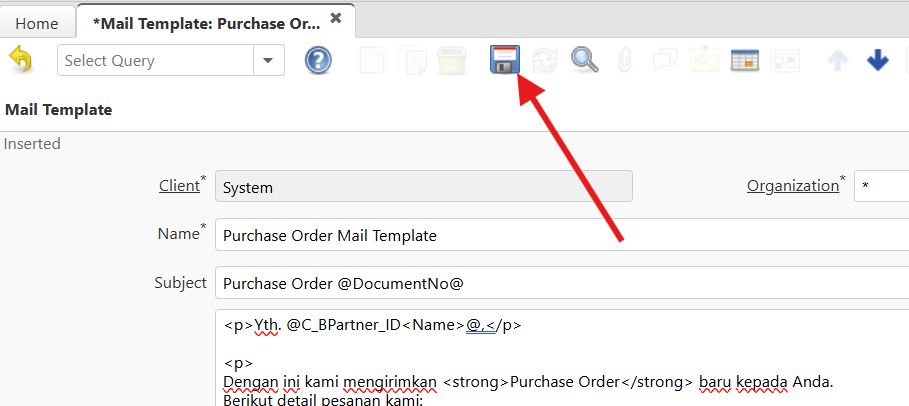
- Click Save once you have finished configuring the template.
Understanding Context Variables (Dynamic Data)
To ensure your emails are not static, you need to use Context Variables. These are placeholders that the system automatically replaces with actual data from the document (such as C_Order or C_Invoice) at the time the email is sent.
With this feature, you can create dynamic email templates without needing to manually edit the email content every time a document is sent.
Syntax Format:
- Standard Columns:
@ColumnName@(Example:@DocumentNo@). - Table Relations:
@ColumnID<Table.Column>@(Example:@C_BPartner_ID<Name>@).
Commonly Used Variables:
| Variable | Description | Data Source |
| @C_BPartner_ID<Name>@ | Displays the Business Partner’s name (Vendor/Customer) | |
| @DocumentNo@ | Displays the Document Number (e.g., PO-1001) | |
| @DateOrdered@ | Displays the Order Date |
Step 2: Setting Up the Workflow Configuration
Once the template is ready, the next step is to integrate it into the system’s Workflow.
- Navigate to the Workflow menu.
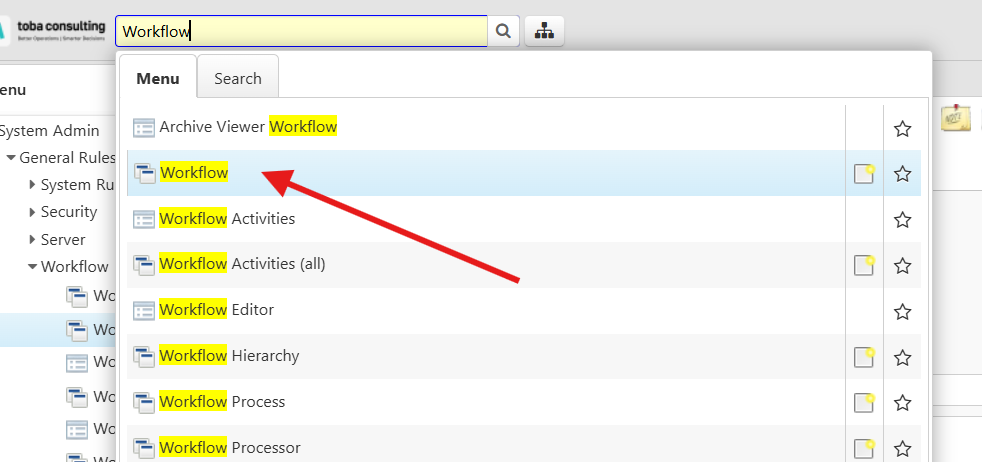
- Search for the specific workflow where you want to insert the email delivery process. For example, for Purchase Order documents, look for the Process_Order workflow.
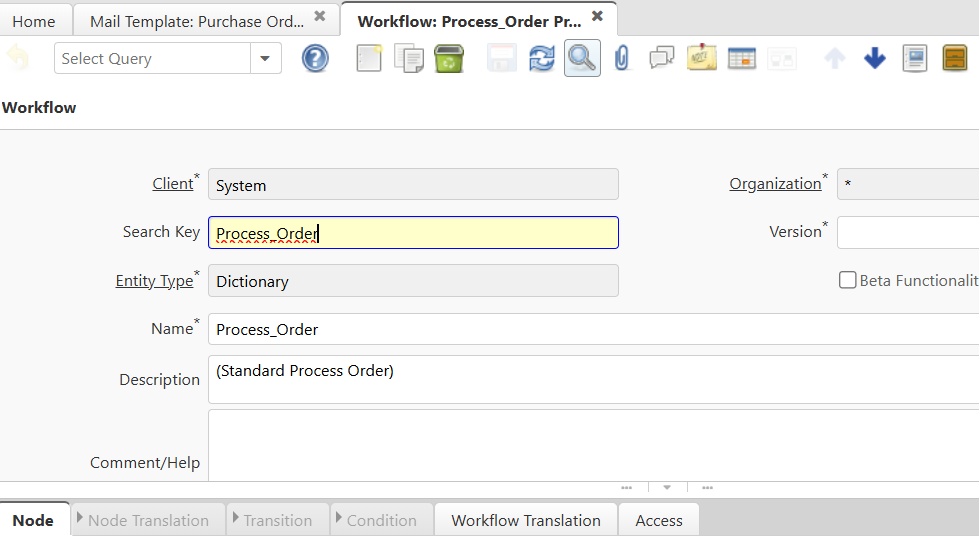
- Create a New Node:
- Add a new node to the workflow.
- In the Action column, select EMail.
- In the Mail Template column, select the template you created in Step 1.
- In the Email Recipient column, define the recipient (e.g., Document Business Partner).
- Fill in any other required fields, then click Save.

Step 3: Configuring Node Transitions
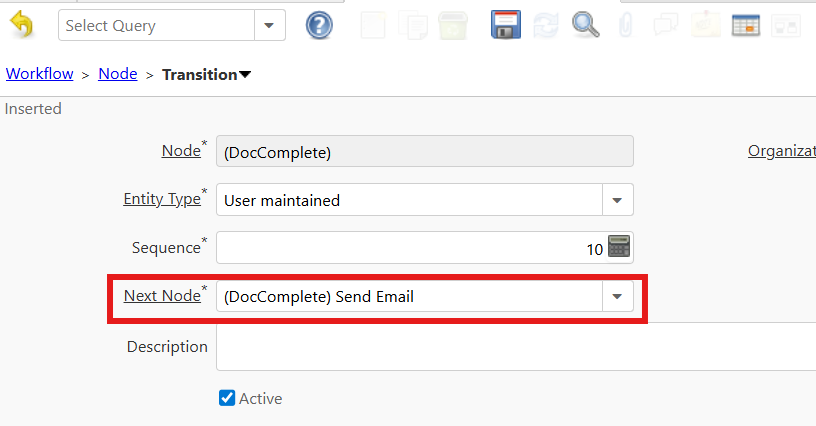
To let the system know when to trigger the email, you must connect the document completion node (DocComplete) to the newly created email node.
- Select the (DocComplete) Node.
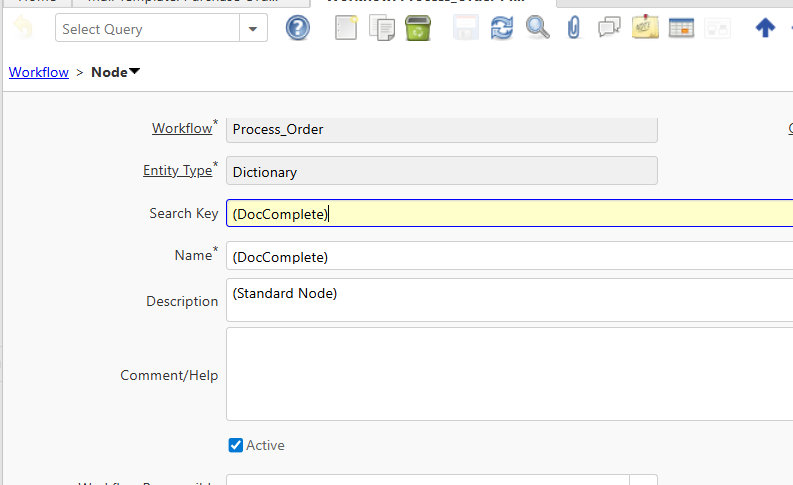
- Open the Transition tab.
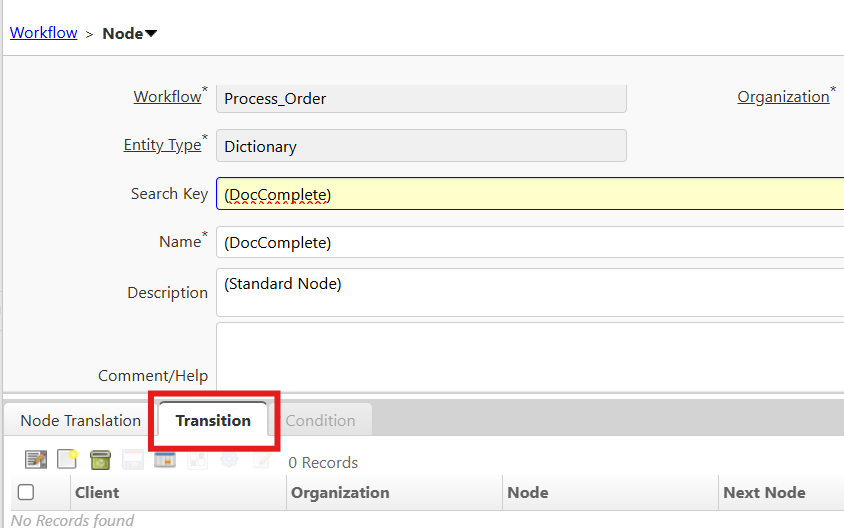
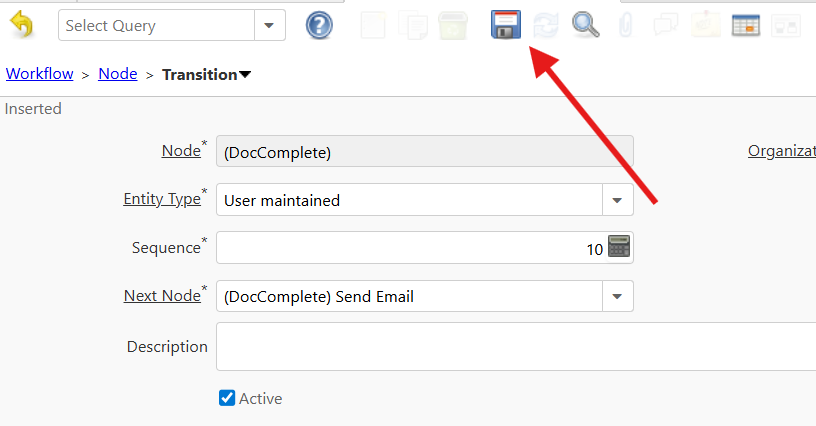
- Add a new transition, and in the Next Node column, select the email node you just created (e.g., (DocComplete) Send Email).
- Click Save.
Step 4: Testing the Email Delivery
Now, it is time to ensure that your configuration works seamlessly.
- Open a Purchase Order document (or the specific document type you have configured).
- Execute the Document Action: Complete on that document.
- The system will process the workflow. Once the document status changes to Completed, the email will be sent automatically to the designated recipient.

As a final result, the recipient will receive a professional, well-formatted email containing the order details, along with the document attachment (if enabled), precisely matching the template you designed.
Need Further Assistance Setting Up iDempiere?
If you encounter any issues or difficulties while configuring your workflow, please do not hesitate to contact our support team.