Login Page
After following the Apache Airflow installation steps in the previous article, we should have successfully installed Airflow on our local system. Therefore, in this article, we will further explore the Airflow User Interface (UI), which can be accessed via http://localhost:8080/. This link can be entered into the address bar of a web browser such as Google Chrome or similar. By opening this address, we will be directed to the Airflow interface, where the first page that appears is the Login page, as shown below:
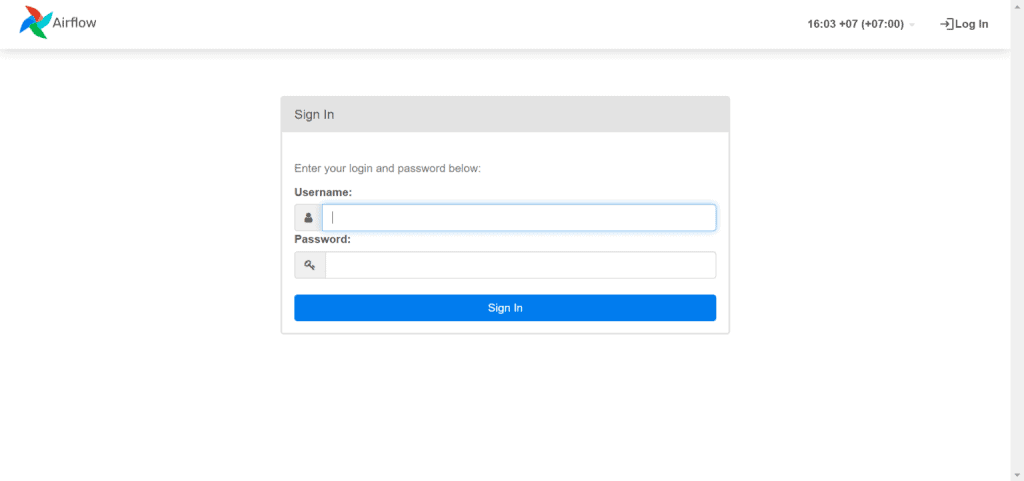
When we look at this page, according to Airflow.conf or the initial config generated when we first created Airflow, the user and password for our local Airflow system are airflow and airflow. Thus, we can directly log into Airflow and see the rest of the UI that we can access, as follows:

Main Page or DAGs Page
The DAGs View is the first page that appears when you log into Airflow. This page displays a list of all your DAGs, the status of recent DAG runs and tasks, the time of the last DAG run, along with basic metadata about the DAGs such as the owner and schedule. To monitor DAG statuses in real-time, enable Auto-refresh.
In the DAGs View, you can perform the following actions:
- Enable/disable a DAG using the toggle switch to the left of the DAG name.
- Filter the DAG list to show active, paused, or all DAGs.
- Filter the DAG list to display currently running DAGs or DAGs that failed during their last run.
- Trigger or delete a DAG using the buttons in the Actions section.
Security and Admin
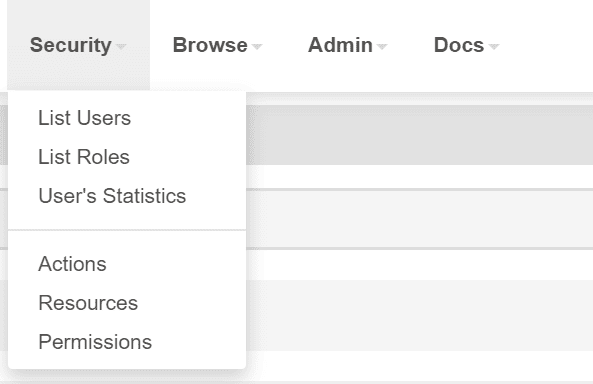
The Security UI in Apache Airflow provides a dedicated interface for managing and configuring security-related settings and features within an Airflow instance. It is a crucial component for ensuring the integrity, confidentiality, and proper access control of your Airflow environment. Here are the key aspects and functionalities associated with the Security UI:
- User Management: The Security UI allows administrators to manage user accounts and their associated roles. Roles determine the permissions and access levels granted to users within Airflow. This includes access rights such as viewing DAGs, triggering DAG runs, and accessing specific features.
- Role-Based Access Control (RBAC): RBAC is a security paradigm where access permissions are determined based on roles. The Security UI enables the configuration of RBAC policies, ensuring that users have appropriate access to Airflow functionalities based on their roles. This helps in implementing the principle of least privilege.
- Connection Credentials: Airflow frequently interacts with external systems and databases. The Security UI provides a secure way to manage and store connection credentials for these external systems. Users can safely configure and store sensitive information, ensuring that only authorized individuals or processes can access it.
- Web Server Authentication: The Security UI facilitates the configuration of authentication mechanisms for the Airflow web server. This ensures that only authenticated users can access the Airflow web interface. Common authentication methods include username/password authentication or integration with external authentication providers.
- Audit Logs: Security is not just about access control, but also about monitoring and auditing. The Security UI provides settings to configure audit logs, allowing administrators to track and review activities within Airflow. This helps identify potential security incidents and ensures compliance with security policies.
- Encryption Settings: The Security UI allows administrators to configure encryption settings for sensitive data. This includes settings related to encrypting data at rest or in transit, adding an extra layer of protection to ensure data confidentiality.
- Token-Based Authentication: For certain use cases, token-based authentication can be configured through the Security UI. This allows users to authenticate themselves using tokens, which can be highly useful in scenarios involving external integrations or automation scripts.
- Two-Factor Authentication (2FA): The Security UI may include settings to enable Two-Factor Authentication for enhanced user authentication security. 2FA requires users to provide two forms of identification before gaining access, typically a password and a verification code from a mobile device.
The Admin Panel in Apache Airflow is the management and monitoring hub for administrators, providing a centralized interface to efficiently manage DAGs, tasks, external connections, variables, and system settings. Its features include user and role management, scheduler configuration, and an event log viewer. With these functionalities, the Admin Panel simplifies the overall administration and monitoring of Airflow. Here is a more detailed explanation:
- Variables: Variables in Airflow are key-value pairs that can be referenced within DAGs. The “Variables” section in the Admin Panel allows administrators to manage and organize these variables. It provides an interface to create, edit, and delete variables.
- Configurations: The “Configurations” section in the Admin Panel is where administrators can view and modify Airflow configuration settings. This includes global configurations related to the web server, databases, and other system settings.
- Connections: External systems, databases, and services often require connections from Airflow. The “Connections” section allows administrators to securely configure and manage these connections. This includes settings such as connection parameters and credentials.
- Plugins: Airflow supports plugins to extend its functionality. The “Plugins” section in the Admin Panel provides tools for administrators to manage and configure installed plugins. This includes enabling or disabling plugins and adjusting their configurations.
- Providers: The “Providers” section refers to Airflow provider packages. Providers offer additional functionalities and integrations. The Admin Panel allows administrators to manage and configure provider-related settings.
- Pools: In Airflow, pools are used to limit the execution concurrency of multiple tasks. The “Pools” section in the Admin Panel allows administrators to manage task pools. This includes settings to create, edit, and delete pools.
- XComs: “XComs” stands for cross-communication messages. This section in the Admin Panel allows administrators to view and manage cross-task communication messages. XComs facilitate communication and data exchange between tasks within a DAG.
By providing a centralized interface to manage these security aspects, the Security UI in Airflow ensures that administrators have the necessary tools to establish and maintain a strong security posture for their Airflow deployments.
In the next article, we will take a closer look at the DAGs UI, as DAGs contain various forms of graph views, displayed system logs, and workflows. Not only that, but we will also explore how DAGs are created in a straightforward manner.
Share this article
All Categories, Apache Airflow
Menggali Potensi Pentaho: Kemampuan Ekstraksi Data yang Luar Biasa
Implementasi Robot Framework pada Robot Process Automation – Selenium Library